Acrylic is a good medium for beginners. It dries fast, it cleans up with water, and it lets you paint over a mistake. You need to learn what is actually going wrong when a painting looks off.
Most beginner problems repeat. The paint dries before a blend is finished. The color turns muddy. The details go in before the big shapes are right. The values sit too close together, so nothing stands out. These are not signs that you cannot paint. They are normal problems with practical causes, and each one has a fix you can use in the same session.
This article goes through the mistakes one by one: what happens, why it happens, and what to do instead. The fixes require a better order of work and a few simple habits.
A weak passage is useful if you can name the problem. Saying a painting looks wrong is too broad to act on. Saying the values are too close, or the brush is too small, gives you a clear next step. Look for one problem at a time, fix it, and only then hunt for the next one.
1. Ignoring how fast acrylic dries
Acrylic dries much faster than oil paint. A thin layer can start to dry in minutes. That speed helps when you want to layer paint. It is a problem when you want a soft blend.
Beginners often mix a color, start blending two areas, and find that the paint begins to drag. The surface turns sticky. The brush pulls paint off instead of moving it. The blend becomes rough, so the painter adds more paint and keeps brushing. That usually makes the area worse.
The fix starts with planning. Decide where a blend belongs before you start it. Mix enough paint for the whole area. Work on one section at a time.
- Mix more paint than you think you need. A generous pile stays wet longer than a thin smear.
- Work in smaller sections. Finish one blend, then move to the next.
- Use a bigger brush for big blends. A large brush covers the area before the paint sets.
- Lay paint down and leave it. Repeated brushing over paint that is starting to dry tears the surface.
If a blend has already turned rough, stop. Let it dry fully, then repaint it with a fresh layer. A clean new layer is faster than fighting paint that has already set.
2. Using paint that is too thin or too thick
Paint consistency is a basic skill, and beginners often miss it in both directions.
Paint that is too thin behaves like weak colored water. It runs, it pools, and it dries pale and flat. Layer over layer, the area still looks washed out.
Paint that is too thick causes a different problem. It comes straight from the tube in heavy ridges. It is hard to control, it hides the drawing under it, and every mark starts to look the same. Thick paint has its place, but it should be a choice, not an accident.
Aim for a middle consistency. The paint should hold its shape on the palette, move smoothly under the brush, and cover the surface in one or two passes.
- If you can see through the layer and you did not plan to, the paint is too thin.
- If the brush cannot shape the edge, the paint is too thick or the brush is overloaded.
- If water keeps pooling on the canvas, you are using too much water.
Add water in small amounts. A little water changes acrylic fast. Mix, test on a scrap surface, then adjust. That short test saves long corrections.
3. Making muddy color by overmixing
Muddy color is a common complaint in acrylic. The painting starts bright, then turns brown or gray where the painter worked the longest. The cause is usually not the paint. It is mixing too many colors together, on the palette or on the canvas, until the mixture loses its identity.
Every extra color in a mixture pulls it toward neutral. That is useful when you want a quiet gray or a soft shadow. It is a problem when you keep stirring different colors into the same passage and expect it to stay clear. Overmixing on the canvas is worse, because a fresh stroke dragged again and again through earlier strokes picks up everything underneath. The longer you stir, the duller the result.
- Mix on the palette, not on the canvas. Decide the color before it touches the painting.
- Use fewer colors in one mixture. Start with two or three and stop when the color is close.
- Mix a fresh pile instead of correcting an old one forever. A clean mixture is clearer than a rescued one.
- Place strokes side by side instead of stirring them together. Neighboring strokes can blend at the edge and still stay clean in the middle.
Keep mixing at the basics level while you learn. Know which colors you used. If you no longer know what is in the pile, start a new pile.
4. Starting with details before the big shapes
Beginners love details. An eye, a leaf, a window. Details feel like progress because they are easy to see. But details placed on weak big shapes do not save a painting. They lock in errors early and make corrections harder.
A painting is built from large to small. First come the big shapes: the main masses, their size, their place, and their value. Then come the smaller shapes inside them. Details belong at the end, and only a few of them matter.
If the big shape of a head, a tree, or a still life object is wrong, a careful detail on top of it is still wrong. Worse, once a detail is painted with care, most people do not want to paint over it. So the error stays.
- Block in the largest shapes first, with simple flat color.
- Check their size and position against each other.
- Add the next level of shapes only when the big ones sit right.
- Save the smallest marks for the end.
Squint at this stage. If the big shapes do not read clearly, details will not fix that.
5. Keeping values too close together
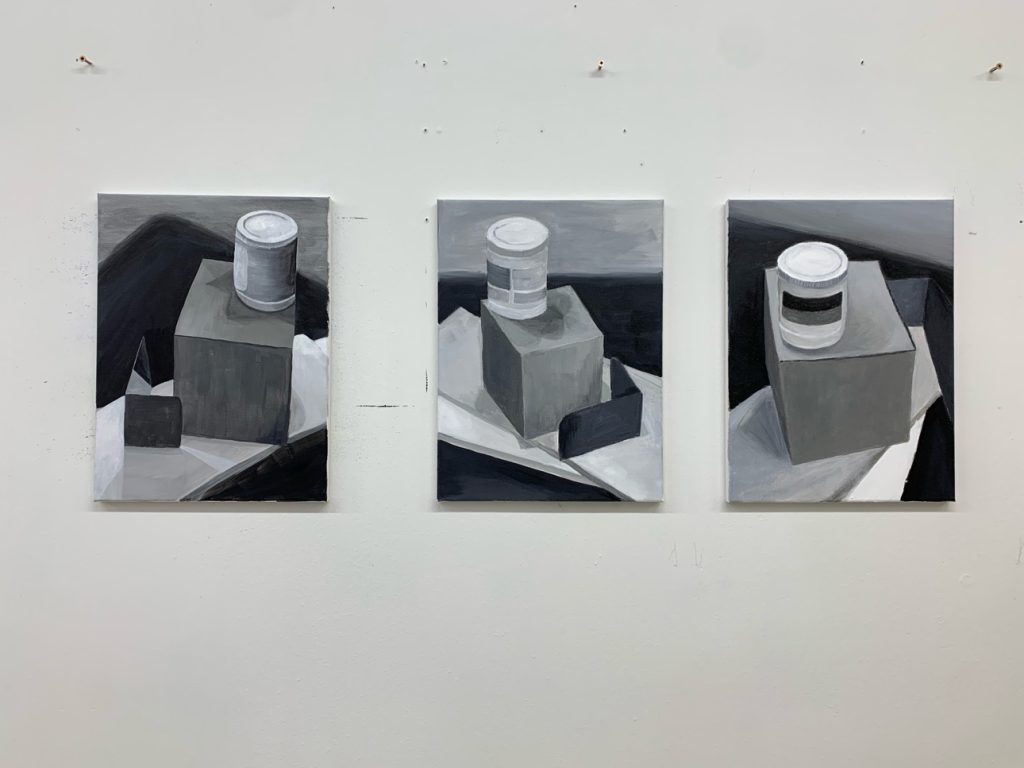
Value means how light or dark a color is. It is the structure of a painting. Color gets the attention, but value does most of the work.
Beginners often paint everything in the middle range. The shadows are too light because dark paint feels risky. The lights are too dark because bright paint feels harsh. The result looks flat and tired, even when the colors are pleasant.
Plan values before color. Decide the lightest area, the darkest area, and what sits in the middle. That range gives the painting contrast and depth.
- Squint at your subject. Squinting reduces color and detail, so the big light and dark pattern shows up.
- Squint at your painting the same way. If the pattern is weaker than the one in the subject, your values are too close.
- Paint the shadows darker than feels comfortable, then judge. Beginners almost always stop too light.
- Keep the lightest light clean and limited. If everything is bright, nothing is bright.
Do not judge a value alone. Judge it against its neighbor. A shadow only reads as a shadow when the light beside it is clearly lighter. That comparison is what builds form.
6. Painting with a brush that is too small
A small brush feels safe and precise. In practice, it is a common cause of tight, fussy paintings. It covers little area, so the painter fills big shapes with dozens of small dabs. Edges become broken, blends become patchy, and the surface starts to look nervous.
Big areas need big brushes. A large flat or filbert brush lays down a shape in a few strokes, keeps the mixture even, and forces you to think in masses instead of fragments.
Use this rule: pick the largest brush that can do the job. Move to a smaller brush only when the shape itself gets smaller. Reserve your smallest brushes for final edges and a few accents.
Brush care matters too. Acrylic that dries in a brush ruins its shape. Rinse brushes often while you work, and wash them with soap and water when you finish.
7. Not stepping back
Painters work close to the canvas. Viewers see the painting from a distance. That gap causes a quiet mistake: the painting is judged only from the distance at which the brush touches it.
Up close, every stroke looks important. From across the room, many strokes vanish, and the big relationships decide whether the painting works. If you never step back, you can refine an area nobody will notice, while a major value error sits untouched.
Step back often. Put the brush down, move several feet away, and look at the whole canvas. Ask simple questions. What is the lightest area? What is the darkest? Where does the eye go first? Do the big shapes read clearly?
A phone photo helps for the same reason. The small screen shrinks the painting and shows its structure. Many painters spot their main problem in a photo within seconds.
8. Overworking wet paint
Overworking is the habit of continuing to brush an area that was already fine, in the hope of making it a little better. In acrylic it has a clear cost. Paint that is partly dry lifts, drags, and turns rough under repeated strokes. Colors that were clean get stirred into mud. Edges that were clear get blurred.
Most overworking comes from not knowing when a passage is done. A useful test is this: if you cannot name what the next stroke will improve, do not make the stroke. Vague brushing is not correction. It is wear.
Place the stroke, judge it once, and either leave it or fix the problem with one clear decision. If an area needs real change, let it dry and repaint it as a fresh layer. A dry layer is a stable base for the next one.
Also watch your time on one area. Move around the canvas and bring all areas up together, in stages.
A better order of work
The fixes above connect into one working order. Use it as a checklist until it becomes habit.
- Look first. Spend real time on the subject before the first stroke.
- Draw the big shapes simply. Size and position before anything else.
- Block in large areas with a large brush. Flat, simple, and easy to correct.
- Set the value pattern. Lights, darks, and the middle range, compared against each other.
- Mix color on the palette in clean, limited mixtures.
- Work section by section where blends matter. Respect the drying time instead of fighting it.
- Step back and check the whole painting at each stage.
- Add smaller shapes, then a few details, at the end.
- Stop when you cannot name the next improvement.
Our article on what to expect in a first painting class describes how that kind of guided order feels from the student side.
Simple practice that fixes more than theory
Reading helps only if you test the fixes on real paint. These short exercises build the right habits.
- The two blend test. Blend one square by brushing it for a full minute. Blend a second with a few large strokes and stop. Compare which surface stayed clean.
- The value scale. Mix a row of grays from near white to near black. Then match the main values of a simple subject to that scale before you use color.
- The big brush painting. Paint a simple still life using only your largest brush. The shapes and values will be clearer than usual.
- The limited mixture rule. For one painting, use only clean, fresh mixtures. When a pile turns muddy, discard it and mix a new one.
- The distance check. Step back often, and look only at the whole painting, not at details.
Each exercise isolates one mistake, so the lesson is clear.
Learning these fixes in a class
Some mistakes are easy to spot in your own work. Others stay invisible because your eye accepts what it has seen many times. A fresh eye helps. So does watching a teacher fix the same problem on a real canvas and explain each decision.
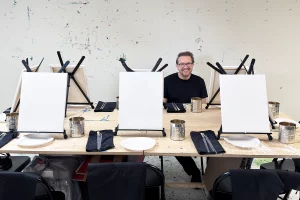
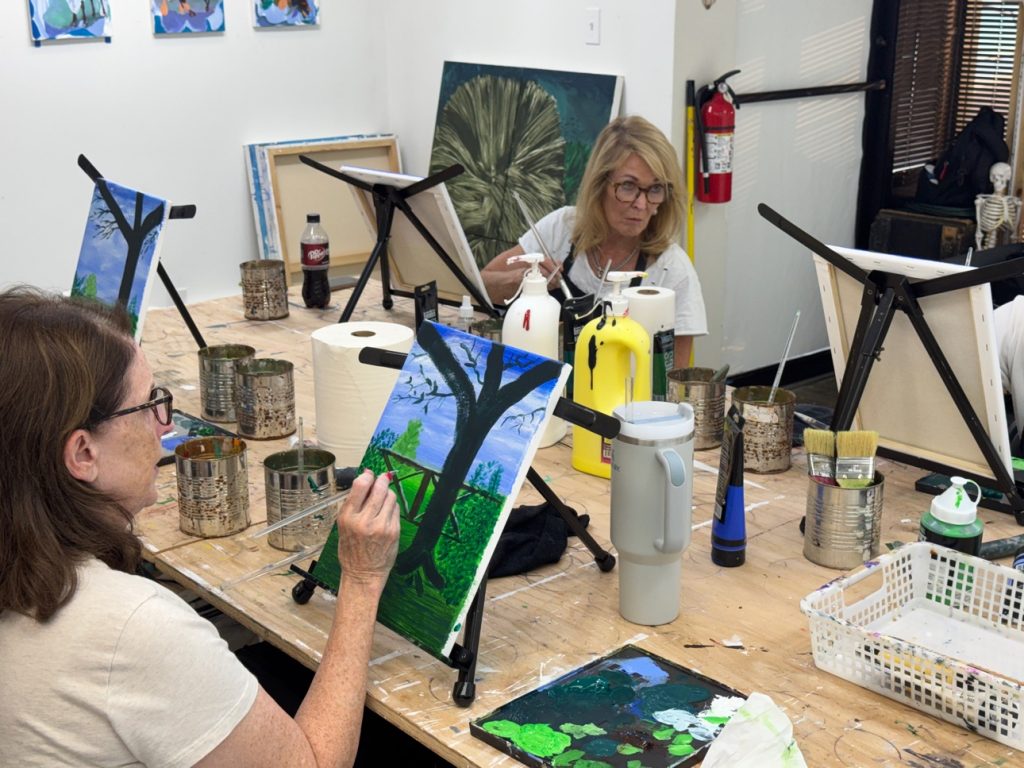
Art Be You is Bartosz Beda’s art academy in Richardson, Texas. It offers evening painting classes for adults, including an acrylic painting course and a watercolor painting course, taught by Bartosz Beda, an artist, painter and art teacher. Materials are included in the classes, and classes are small, limited to six seats. Art Be You also offers workshops, private lessons, and gift cards.
The art classes overview explains the courses in one place. The order described here, big shapes first, values next, clean color, then details, is a sound order to bring to any painting session.
You can see Bartosz Beda’s own painting on bartoszbeda.com, and more about the academy is on the Art Academy page. Student work and class updates appear on Instagram and Facebook.
Every painter makes these mistakes. The difference is that an experienced painter spots errors early, names them, and knows the fix. Build that habit and your paintings will improve in a straight line. For current dates, price, and availability, check the class pages linked above, and start with the acrylic course if acrylic is the medium you want to learn.