
Beginners often hear the word underpainting and picture something advanced. In truth, it is one of the oldest and simplest planning tools in painting.
An underpainting is not a finished picture under another picture. It is a first layer that settles the big questions early. Where are the darks. Where are the lights. How do the main shapes fit together. Once those answers are on the canvas, later layers have a map to follow.
This article explains what an underpainting is, what work it does, and how it changes between acrylic, oil, and watercolor. It also gives a simple beginner version, the common mistakes, and an honest answer to the main question. Beginners do not always need one.
What an underpainting is
An underpainting is a first painted layer, usually thin, that establishes the design before final colors and details are added. It stays partly or mostly covered by later paint. In some places it may show through. In others it disappears.
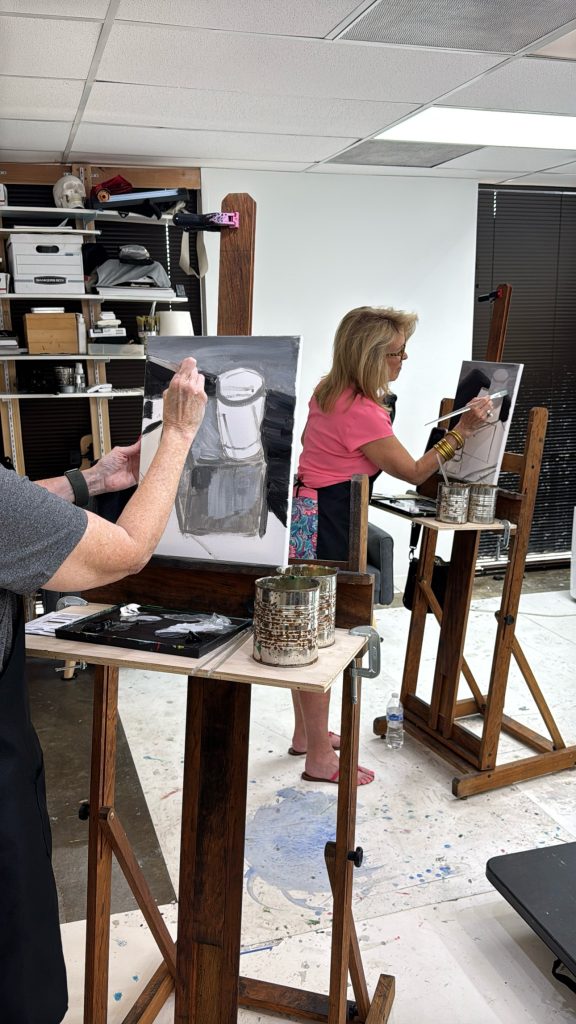
Most underpaintings are about value, not color. Value means how light or dark something is. A common form uses one color only, thinned and worked like a drawing in paint. The painter blocks in light, middle, and dark areas. The result looks like a rough version of the painting in a single color.
Other underpaintings use a limited range of colors. They still stay simple, and leave final color, texture, and detail for later. The point is not to finish early. The point is to decide early.
- An underpainting is a plan. It tests the composition before thick or final paint is committed.
- An underpainting is thin. Heavy paint at this stage makes later layers harder, not easier.
- An underpainting is incomplete on purpose. Edges stay open. Details stay out. It should invite the next layer, not replace it.
- An underpainting is not the drawing alone. A pencil or charcoal drawing can sit under it, but the underpainting itself is paint, with painted values.
Think of it like the framework of a house. The framework is real work, and the house depends on it. Walls and finishes still have to come.
What an underpainting does
One thin layer sounds minor. It solves several real problems at once.
- It plans values early. Values carry a painting. If the pattern of light and dark is weak, strong color will not save it. An underpainting forces the value pattern to work before color enters the discussion.
- It removes the fear of the white canvas. A blank white surface makes every first mark feel final and risky. A toned, blocked in surface is already started. The painter is adjusting a painting, not facing an empty one.
- It creates color harmony. Later colors share a base underneath them. A warm base under cool colors, or a quiet base under bright colors, ties the surface together.
- It gives a map for later layers. When a painter gets lost in detail or color, the underpainting shows where things were meant to be.
- It separates two hard jobs. Judging values and judging color at the same time is difficult. The underpainting lets the painter solve values first and color second.
None of this requires a complex method. A rough, honest underpainting does all of the jobs above.
Older forms you may hear about
A few traditional terms appear in books and videos. Each names a version of the same idea, a planned first stage.
Grisaille
Grisaille is an underpainting, or sometimes a complete painting, done in gray values only. Painters used it to build form in monochrome before adding color in later layers. The logic is strict and clear. If the forms read well in gray, with no help from color at all, then the value structure is sound. Color added afterward rests on a tested foundation.
Grisaille also served as training. Students learned to model light and shadow without the distraction of mixing color. A gray study shows mistakes in value that color can hide.
Dead coloring and local color stages
In traditional oil painting, a stage called dead coloring laid in the main colors flatly over a tonal underpainting. The colors were dull and approximate, like a first draft of the color. Richer color and detail came afterward.
A related idea is blocking in local color. Local color is the general color of a thing, such as the basic green of a tree or the basic red of a cloth, before light and shadow change it. Laying it in early, in a plain way, gives later layers something to refine. Painters have long worked in stages instead of finishing one inch at a time.
Toned grounds and imprimatura
A toned ground is the simplest relative of the underpainting. Instead of painting on white, the painter stains or covers the surface with a thin, even tone first. The tone is often a warm earth color or a muted gray. Every later judgment happens against that middle tone, which makes lights look lighter and darks easier to place.
Imprimatura is the traditional name for such a thin tonal stain applied over the ground. It is not a drawing and it carries no shapes. It only sets the starting key and removes the glare of white. Many painters who use no underpainting still tone their canvas.
Underpainting in acrylic and in oil
The idea is the same in both media. The handling is different, because the paints dry in opposite ways.
In acrylic
Acrylic dries fast, and that speed suits a thin value sketch very well. A beginner can block in the main values with one thinned color, let it dry in a short time, and start painting over it in the same session. If a shape is wrong, the painter can correct it in the underpainting itself before any final color is at risk.
Acrylic also stays where it is put. Once dry, it will not lift or mix into later layers. A thin value block in is a clear, repeatable way to begin, and beginners who want guided practice with layered starts can look at the acrylic painting course. Keep it thin and flat. Thick ridges show through later paint.
In oil
Oil is the traditional home of the underpainting. Oil dries slowly, so painters developed staged methods across many sessions. A tonal underpainting could dry fully before color layers began. Later layers could be opaque, or thin and transparent, letting the underpainting glow through and enrich the color.
The slow drying time cuts both ways. A wet oil underpainting can blend softly. It can also turn muddy if later paint is dragged through it too soon. Finish the underpainting. Let it set. Then build on it. For a beginner, that calm order removes hurry, which is often the real problem.
Why watercolor is different
Watercolor painters rarely use an underpainting in the sense described above, and the reason is built into the medium. Watercolor paint is transparent. Light passes through the paint, reflects off the white paper, and comes back to the eye. The paper is the light source of the painting.
That fact changes everything. A dark first layer would block the paper and dull every color over it. Watercolor cannot be built from dark foundations the way oil can. Its whites are areas of paper left clean from the start.
So in watercolor, the planning work of an underpainting happens in other forms.
- The drawing carries the plan. Shapes, edges, and placement are settled in pencil before paint touches paper.
- Whites are reserved in advance. The painter decides where the lightest lights will be and protects those areas while working.
- A light first wash can test values. Some painters lay one pale wash to place the big shapes, then build darker washes in stages. This is the closest watercolor comes to an underpainting, and it stays light by necessity.
- Values are built in layers from light to dark. Each wash must dry before the next, so the order of work replaces the underpainting as the organizing system.
That planning habit is central to watercolor, and the watercolor painting course is where Art Be You teaches the medium. The lesson matches the underpainting lesson, even though the technique looks different.
A simple beginner version, step by step
Here is the smallest useful underpainting, in acrylic or in oil. It takes one color and a short list of steps.
- Step 1. Tone the surface if you like. Cover the white canvas or panel with one thin, even stain of a muted earth color. Let it dry. This step is optional, but it calms the white.
- Step 2. Draw the main shapes. With a brush and the same thinned color, place the biggest shapes only. Horizon line. Main masses. Largest objects. Keep lines loose.
- Step 3. Block in the darks. Fill the shadow areas with the color at full strength. Squint at your subject while you do this. Squinting strips away detail and shows the big value groups.
- Step 4. Wipe or lift the lights. With a dry brush or a cloth, pull paint off the lightest areas. In acrylic, paint the lights back in with a pale version of your color instead.
- Step 5. Set the middle values. Between the darks and lights sits the middle range, where most of the painting lives. Block it in plainly.
- Step 6. Stop and judge it as a whole. From a distance, does the pattern make sense. Fix the underpainting now, while fixing is cheap.
- Step 7. Let it dry, then paint over it. Begin with the largest color areas. Let some underpainting show in quiet areas if it helps. Cover it where final color needs full strength.
That is the whole method. One color. Big shapes. Three value groups, then a pause to judge.
Common mistakes
Underpainting has its own beginner errors. Each one quietly cancels the benefit of the stage.
- Too dark. If the underpainting starts near black, later colors struggle to stay clear, and the lights have to fight their way out. Keep the whole stage lighter than you think. Final darks can always be deepened later.
- Too detailed. Eyes, textures, small objects, and fine edges do not belong in an underpainting. Detail at this stage wastes time and locks in decisions before the big shapes are proven.
- Too tight. Some beginners finish the underpainting so completely that the next stage becomes coloring in. The painting loses energy and the painter loses interest. An underpainting should stay open, a little rough, and clearly unfinished.
- Too thick. Heavy paint ridges telegraph through later layers and catch light in the wrong places. Thin paint is not a style choice here. It is what makes the stage work.
- No pause to judge. Painting straight through the underpainting into color, without stepping back, throws away its main purpose. The pause is the point. Our article on how to know when a painting is finished makes a related point about the end of a painting. Judgment needs distance at the start of a painting too.
When to skip an underpainting
An underpainting is a tool, not a duty. Plenty of good paintings begin directly, with the painter blocking in color from the first stroke. That direct approach is often called alla prima when the painting is finished in one session, wet paint into wet paint.
Skip it when the subject is simple and the values are obvious. Skip it when speed matters more than structure, as in a quick study from life. Skip it when you want the freedom to change the composition as you go. Skip it in watercolor almost always, for the reasons explained above.
Use it when the composition is complex, or the value pattern is subtle and needs testing. Use it when a painting matters to you and deserves a planned start.
So, do beginners need one. No, not for every painting. But every beginner benefits from learning the habit, because the habit is really about seeing. It trains the painter to find big shapes and honest values before detail and color. That skill improves every painting afterward, including ones painted without any underpainting at all.
A good pattern is simple. Use the one color version on larger paintings. Paint small studies directly.
Learning the start of a painting at Art Be You
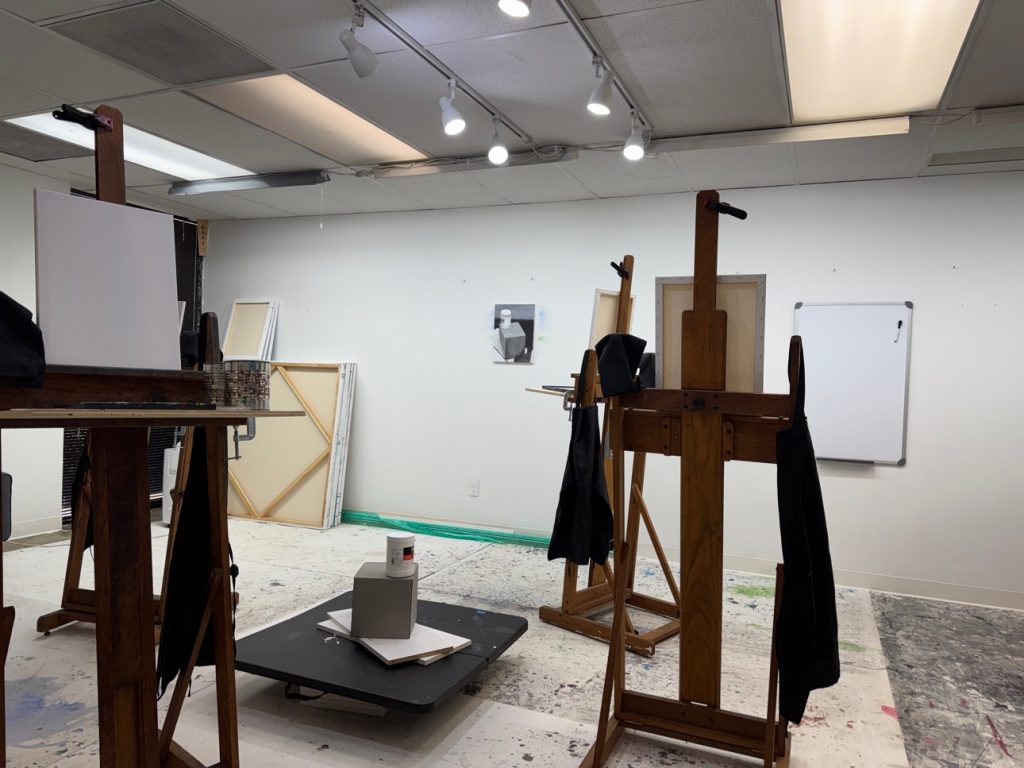
Starting well is a teachable skill. It is easier to learn with a teacher watching the first layer go down. Art Be You is Bartosz Beda’s art academy in Richardson, Texas. It offers evening painting classes for adults, including an acrylic painting course and a watercolor painting course, taught by Bartosz Beda, an artist, painter and art teacher. Classes are small, limited to six seats, and materials are included in the classes. Art Be You also offers workshops, private lessons, and gift cards.
A beginner can also test the simple underpainting above in a class setting, where a teacher can comment at the stage where correction is cheap. Advice given over a first layer can shape the whole picture. The acrylic course suits painters who want to build in layers. The watercolor course suits painters who want to plan in drawing and washes. Both mediums reward the same skill, deciding before painting and judging while painting.
For current dates, price, and availability, see the class pages. The starting points are the acrylic painting course and the watercolor painting course. You can also read more about Bartosz Beda on his website and about the academy on the academy page. Class work and studio updates appear on Instagram and Facebook.